|
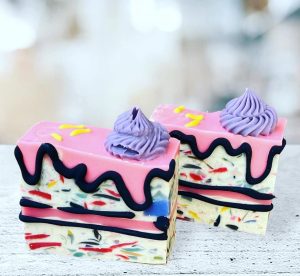
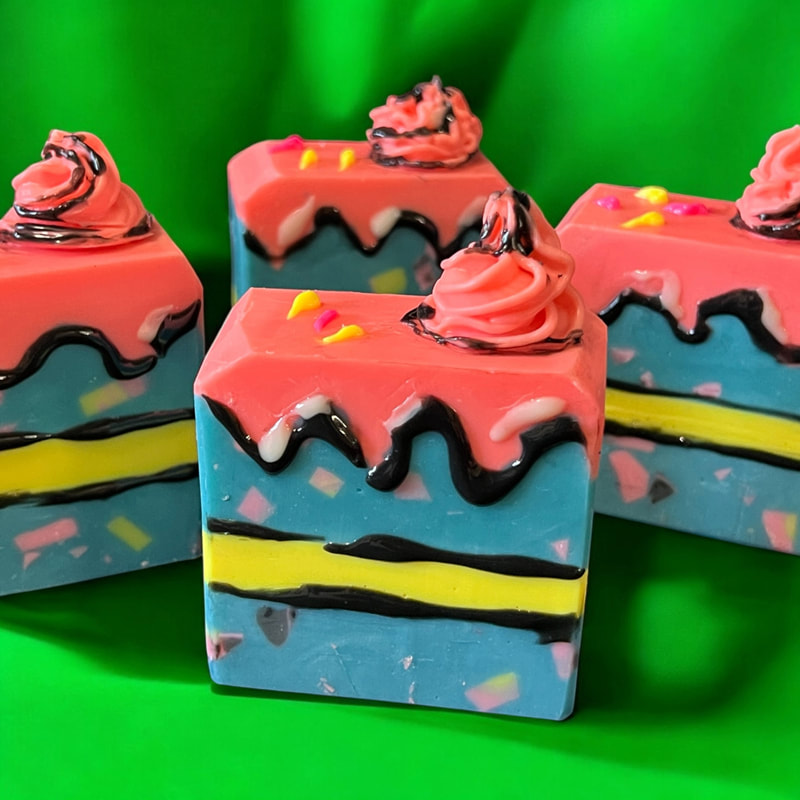
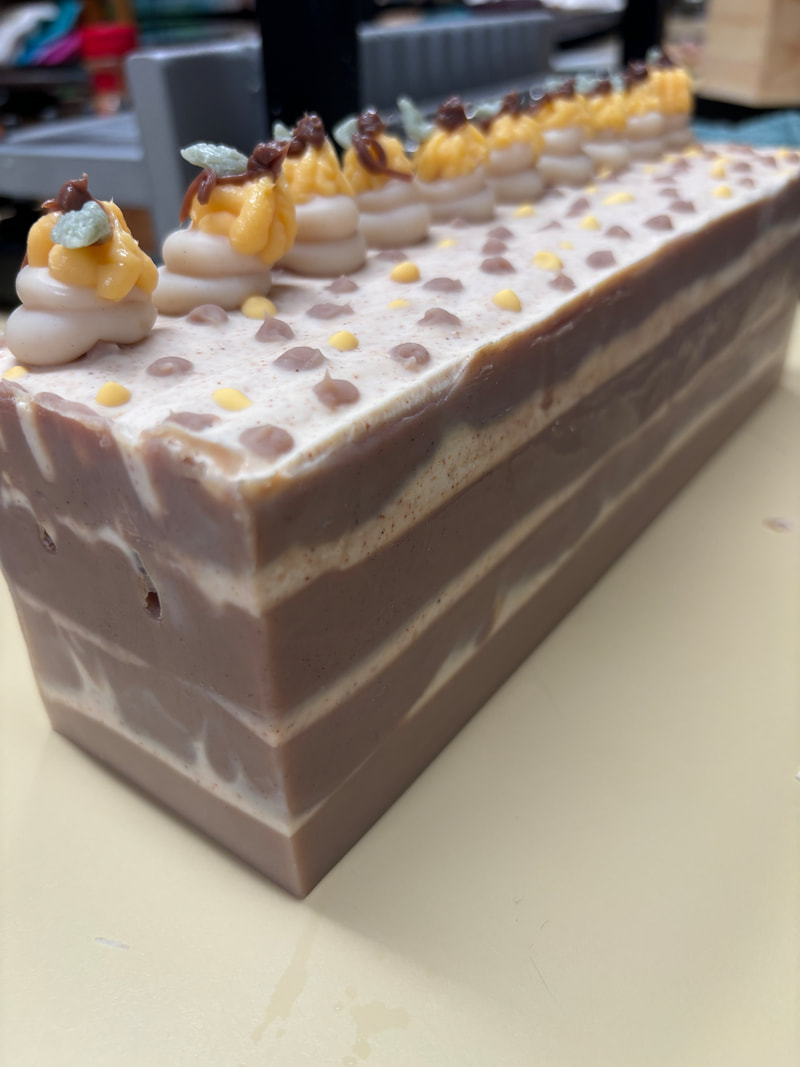
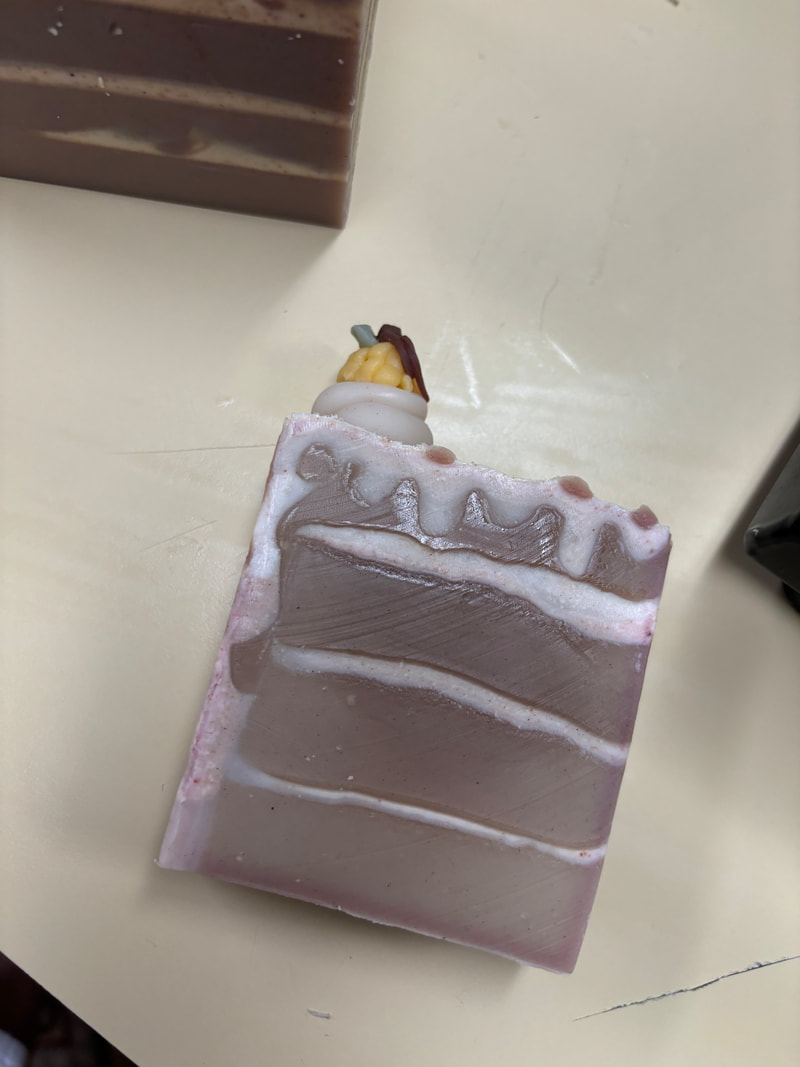
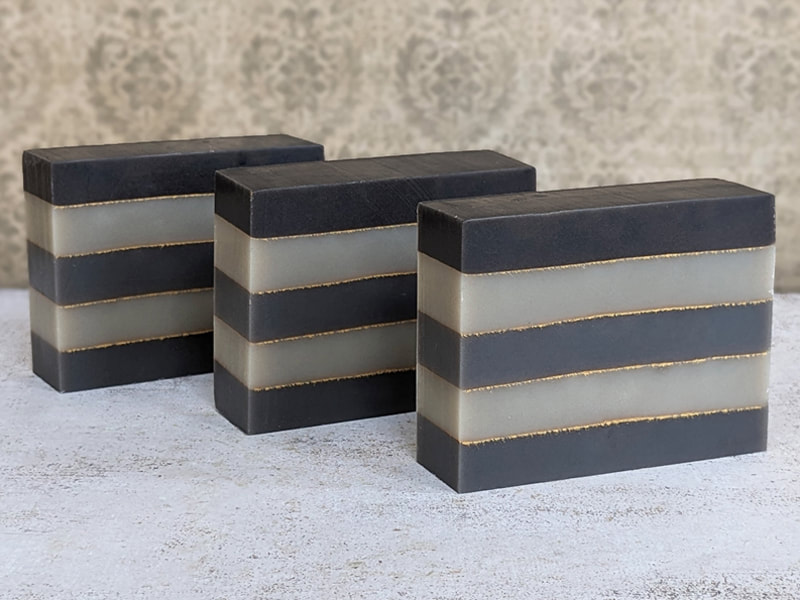
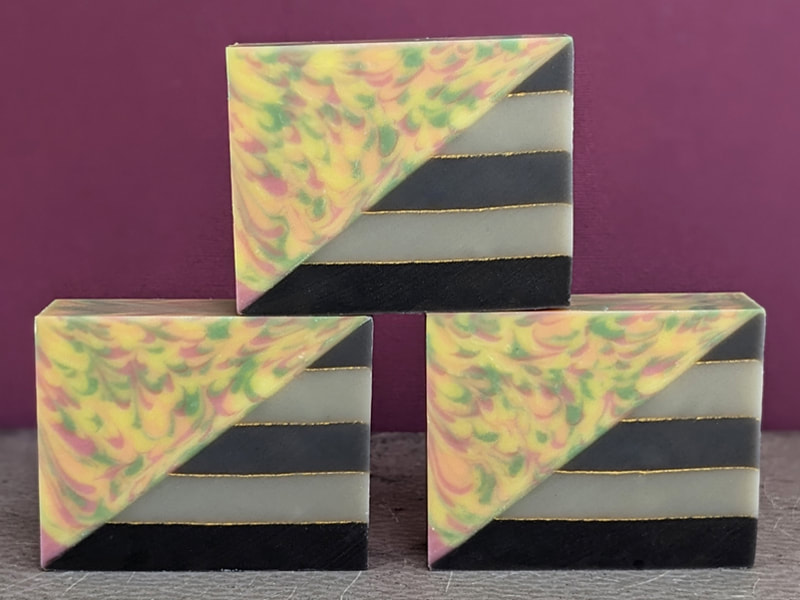
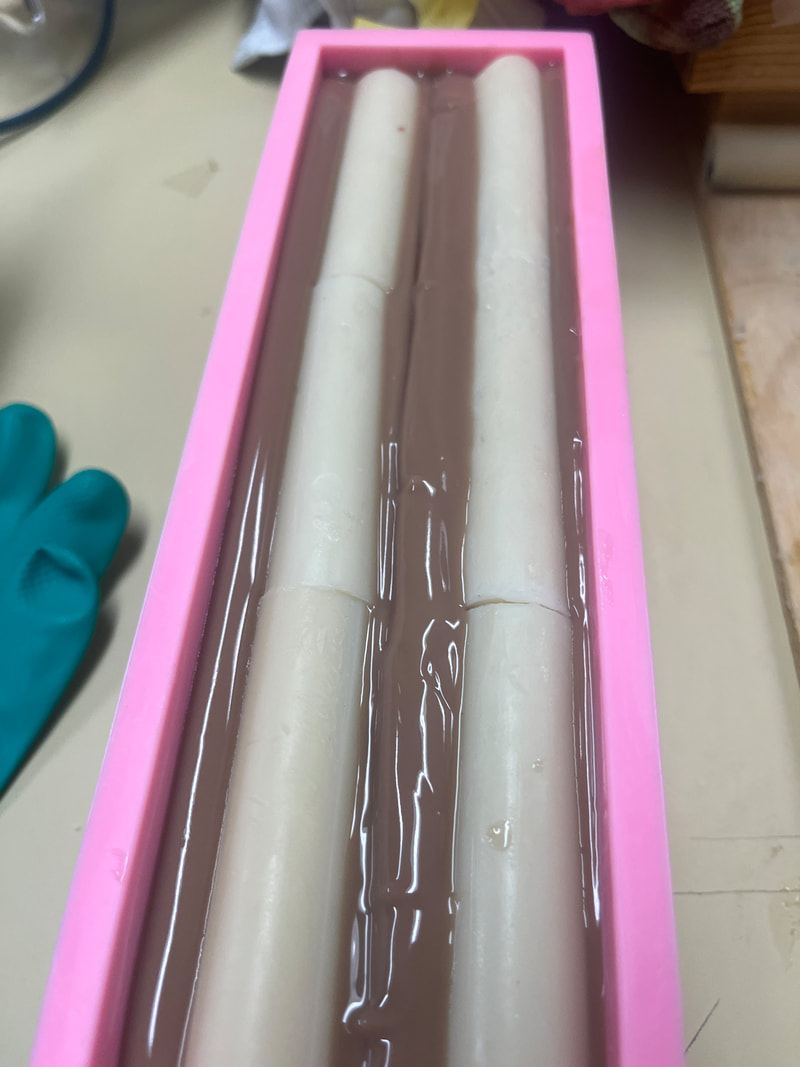
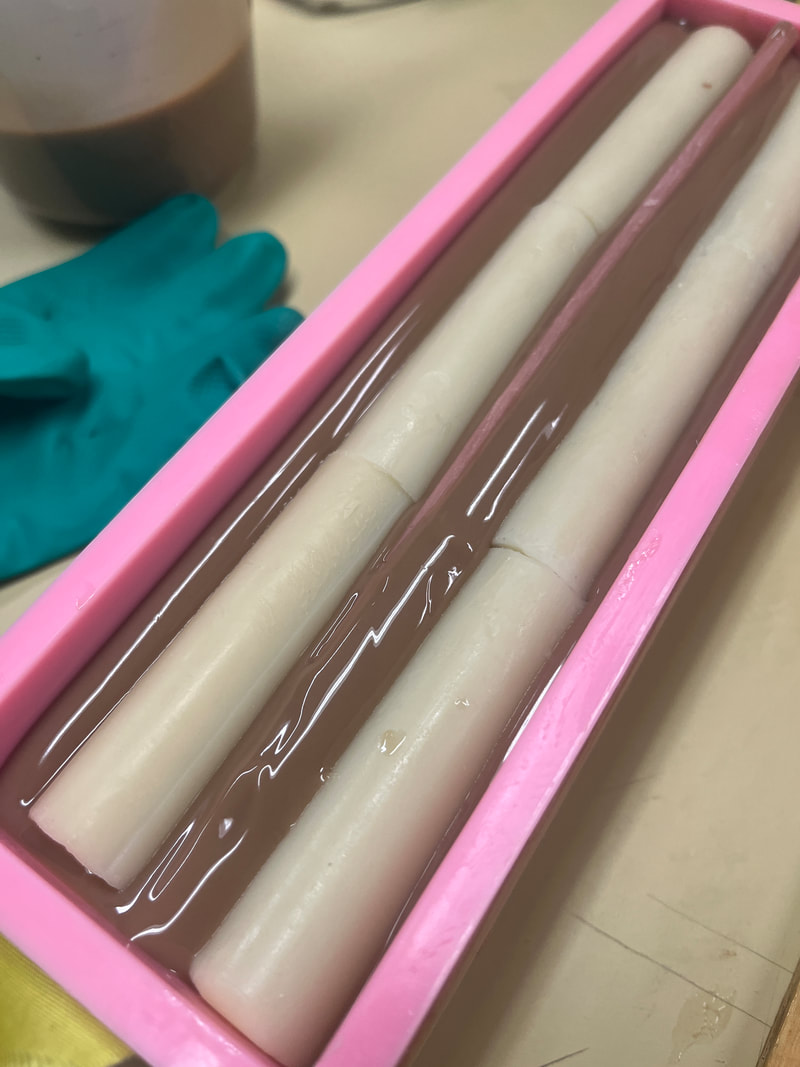
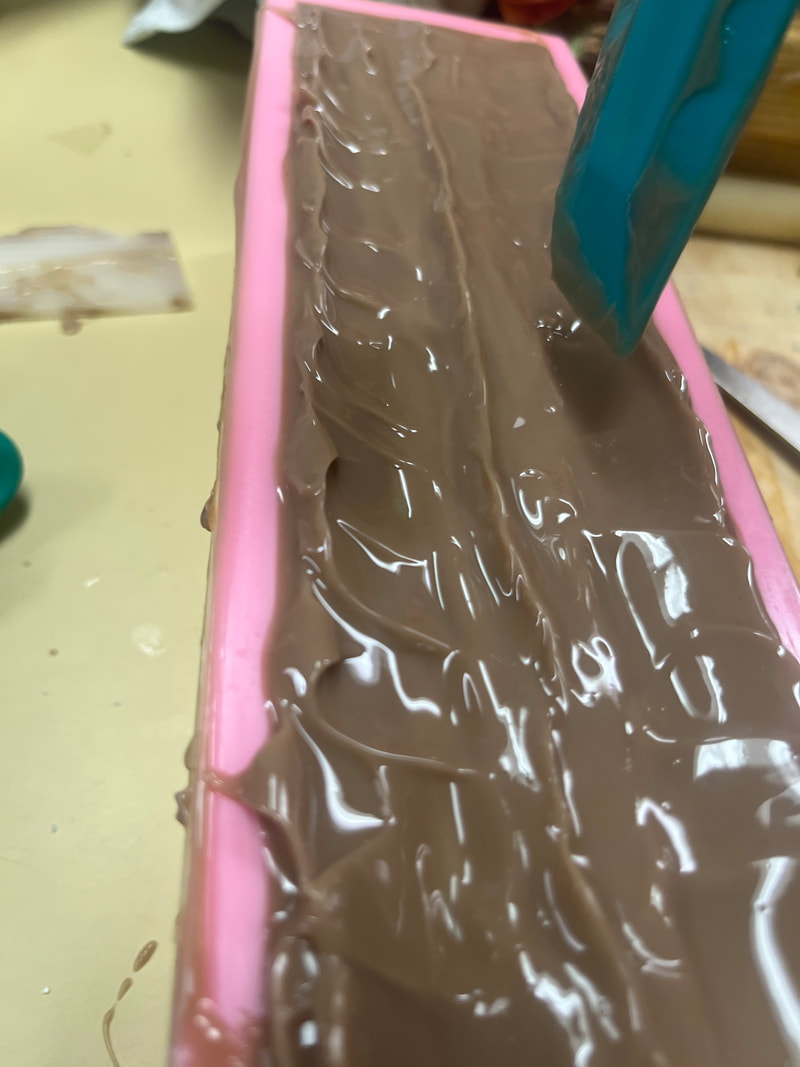
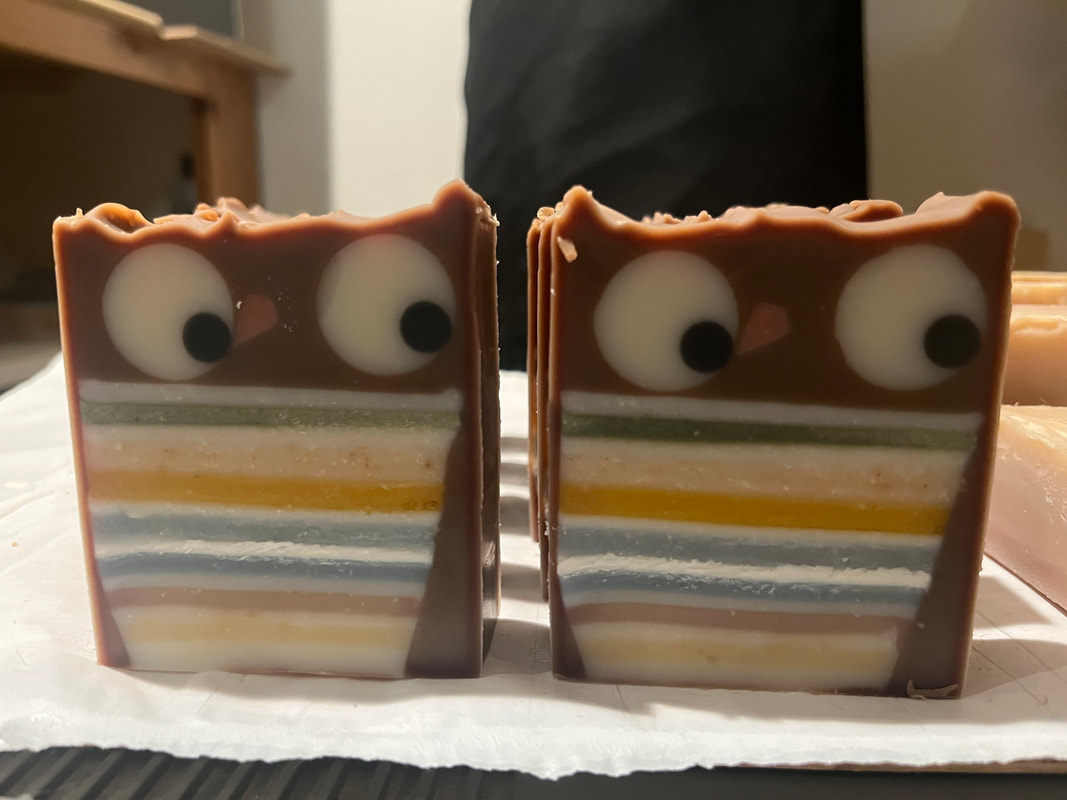
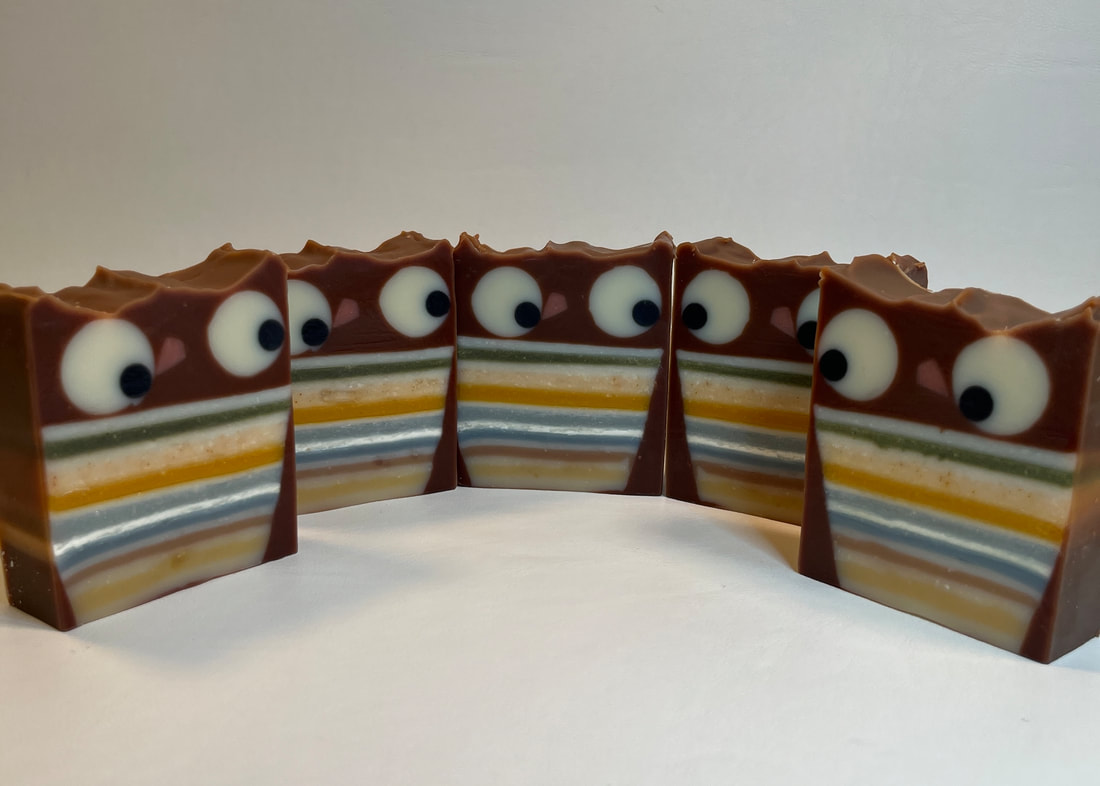
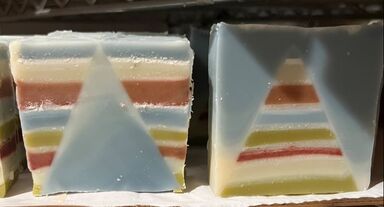
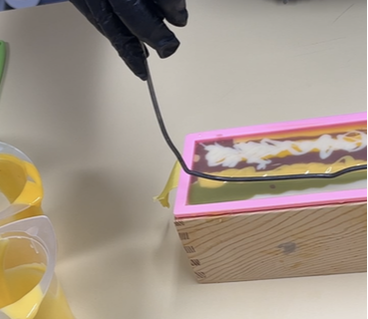
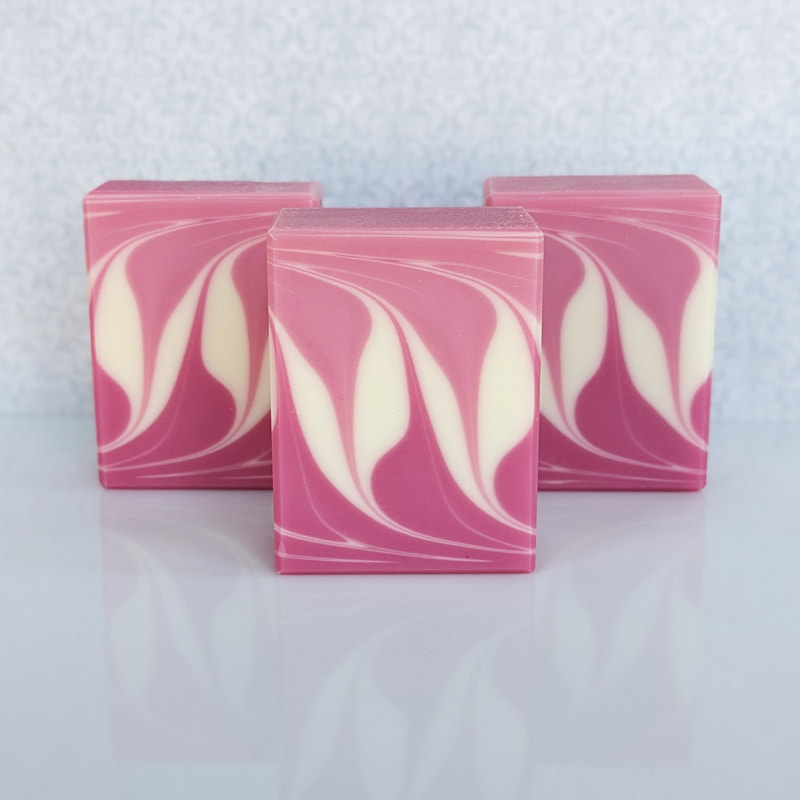
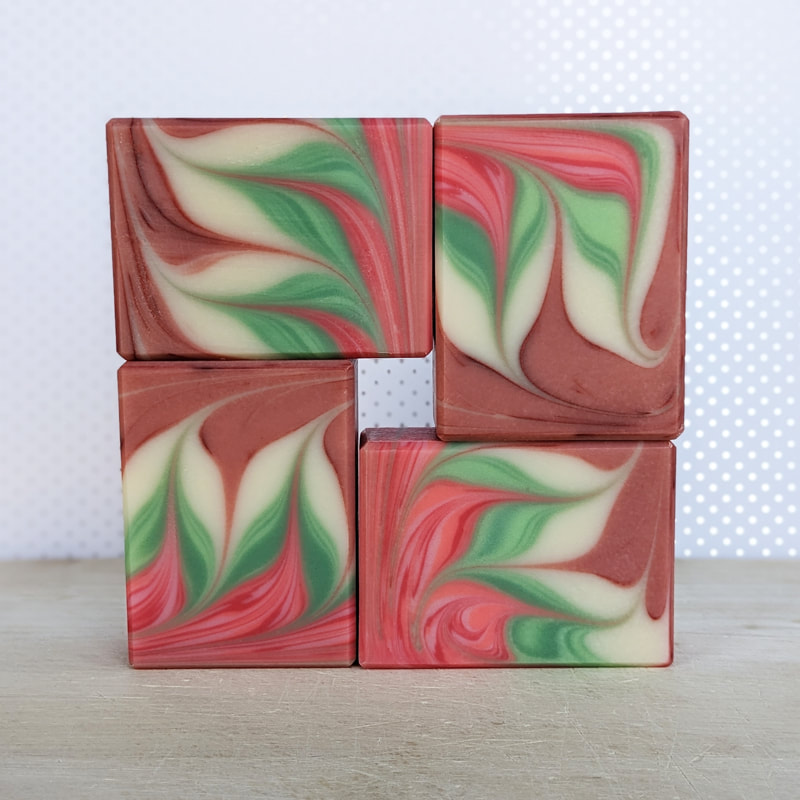
Cartoon cakes...I had never stepped into this world, until yesterday. Amy Warden's Soap Challenge Club is tackling this technique this month, so I thought I'd give it a try. This tutorial is taught by guest instructor Sara Golding of Sunny Girl Sundries and Sunny Girl Business Solutions. With fall just about here, I thought I would lean into the pumpkin spice theme for this challenge. Customers love the pumpkin spice scent this time of year, and I created my own this time using an essential oil blend of Cinnamon, Cardamon, Ginger, Clove & Nutmeg. Here are pictures of the Cartoon Cake Soaps made for the tutorial, and the inspiration to get us started. More inspiration can be found from cake making tutorials, and I found these that gave me ideas. Yes, these are actually 3 dimensional cakes, decorated to look 2 dimensional. Pretty fun! So, I decided to make a pumpkin spice cake, with fond memories of the spice cake my grandmother always made :) I wanted to add the side frosting to the design, so I placed a divider in the mold leaving about 1/4" space to pour the "icing" along the side while pouring the layers. My cake is a four layer spice cake - brown "cake" and white "frosting". All layers also had cinnamon added for a speckled, spice cake look. I also sculpted the top layer, for a bit of the dripping frosting look. I didn't go too deep though, as the layers were starting to firm up already - thank you clove! Once the layers were poured, I piped a bit of "cream" on one side and added a piped pumpkin as well. Some pumpkins are better than others, but the addition does give the feel of fall. I did not get around to taking photos of the process, but here is the soap poured and piped. I unmolded the soap loaf and cut one bar at a time to keep them from drying out in between piping each one in the comic style. I followed the idea in one of the cake tutorials, where you pipe around the entire shape of the soap, and you see that outline when looking at it straight on. Afterwards, I noticed that the soap examples had minimal black piping, and maybe these would be better that way? Or maybe better with a white piping instead, since the cake itself is fairly dark? I did play with the line thickness, and I'm not really sure which I like best. This was a fun diversion, and just what I needed this week! Thank you Amy!
4 Comments
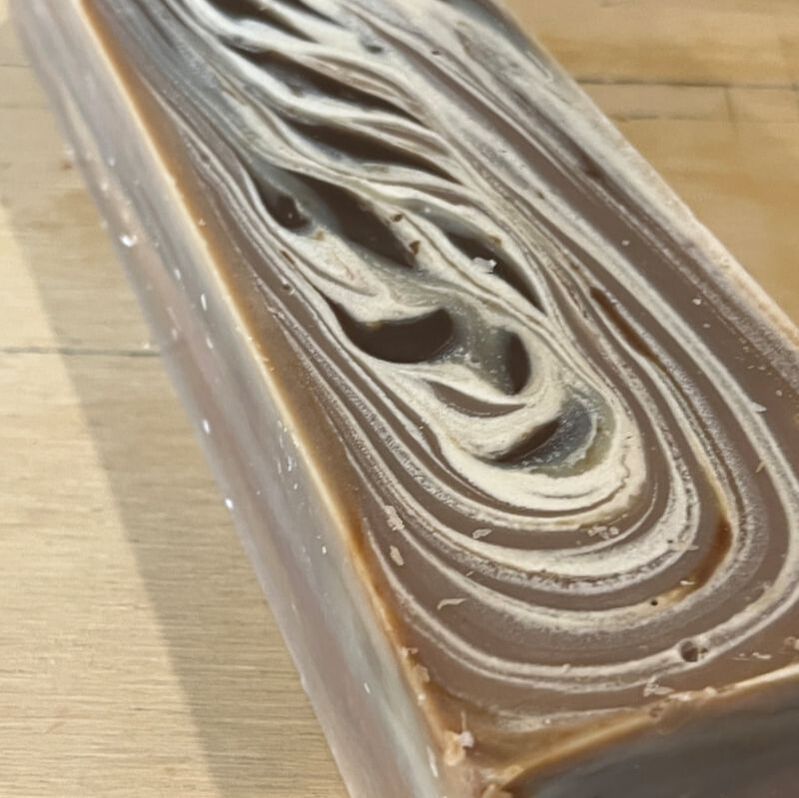
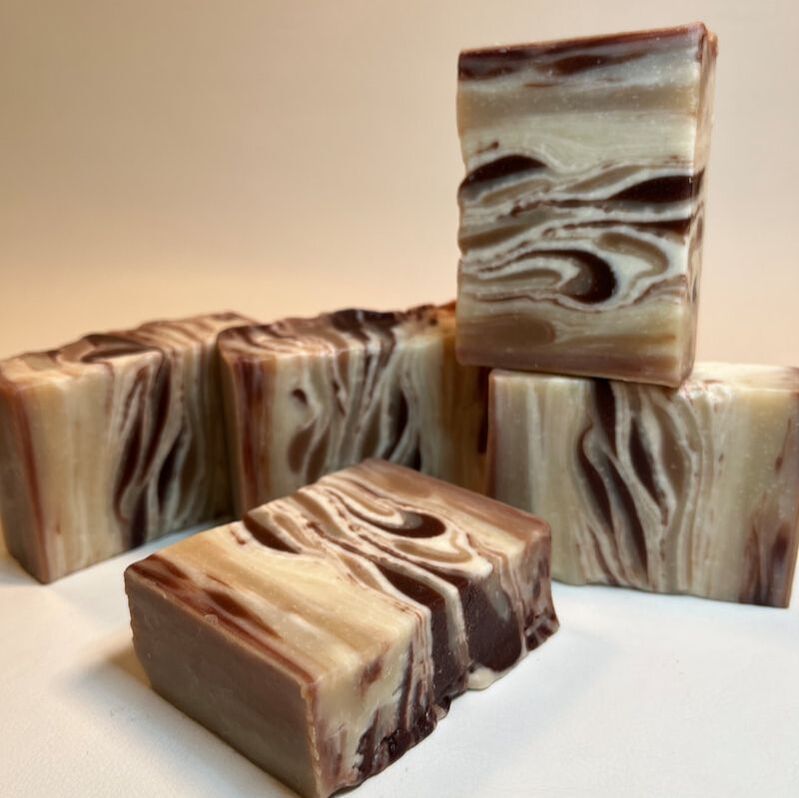
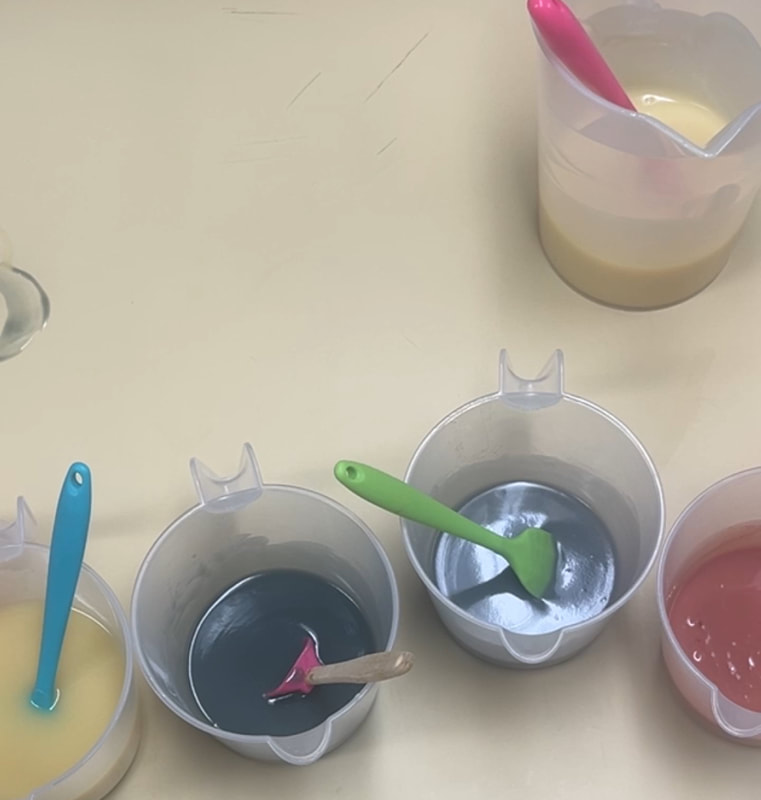
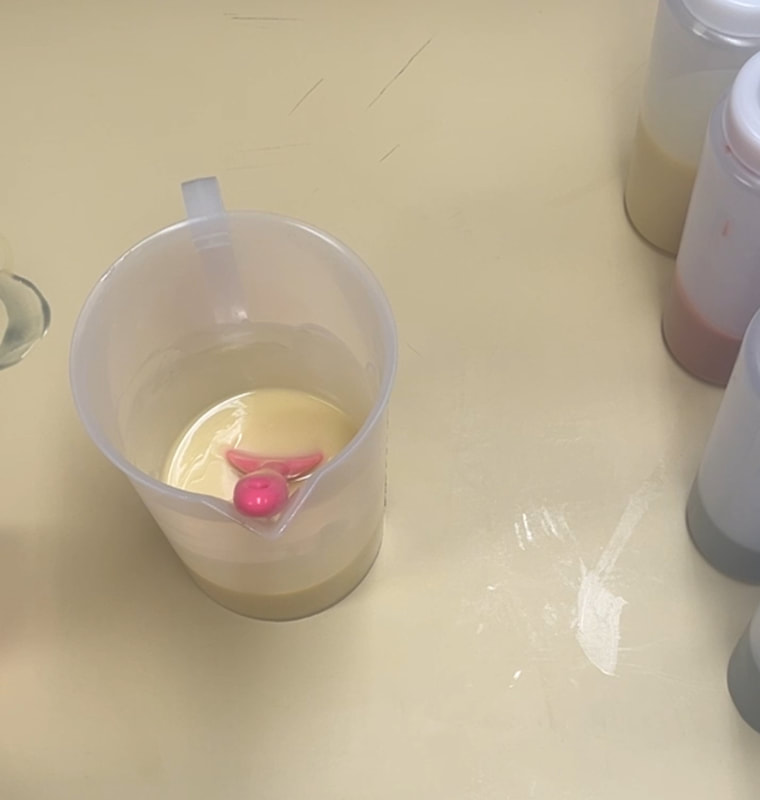
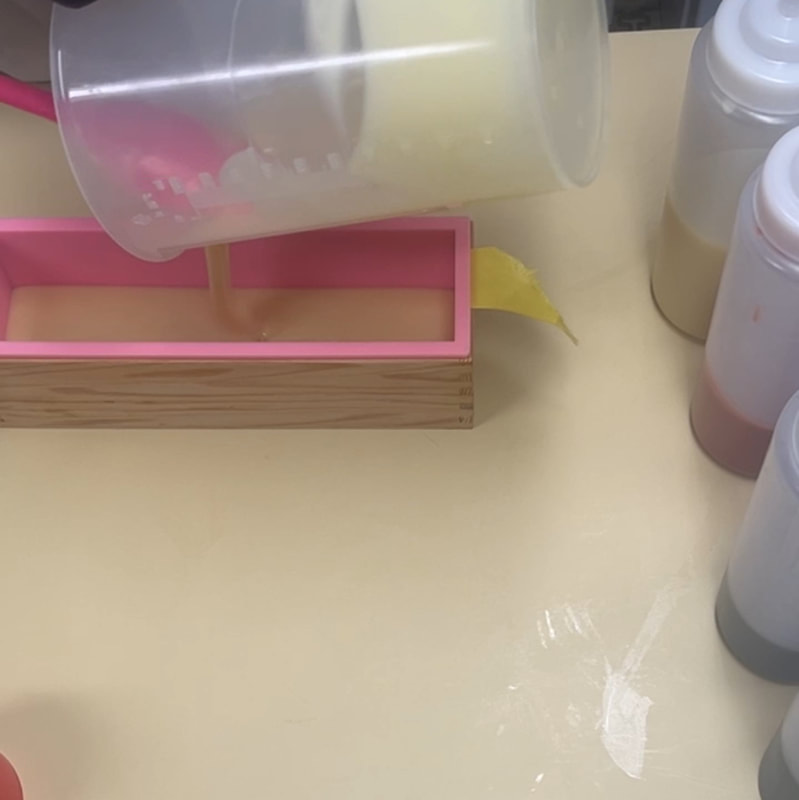
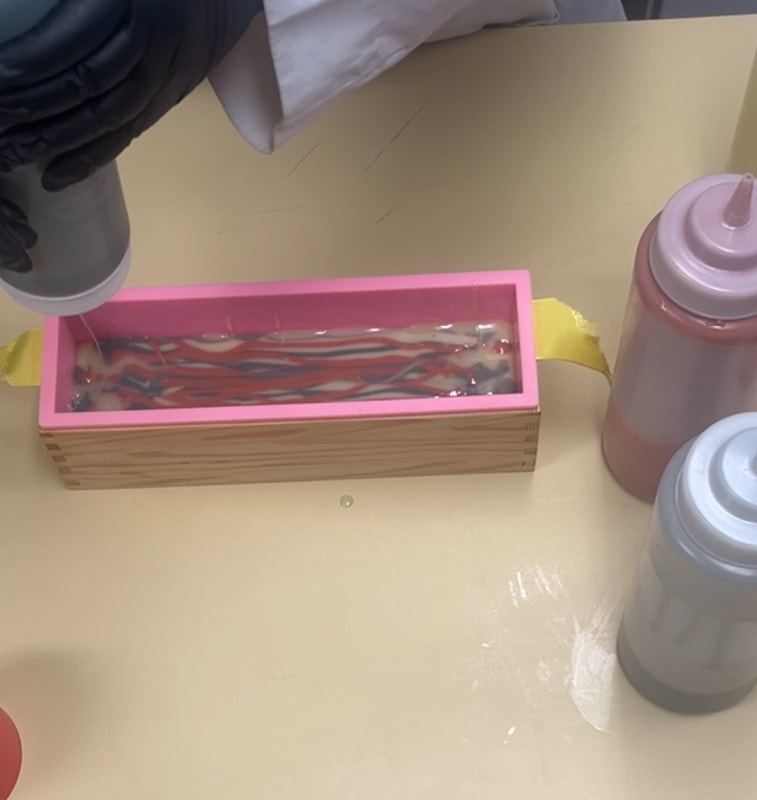
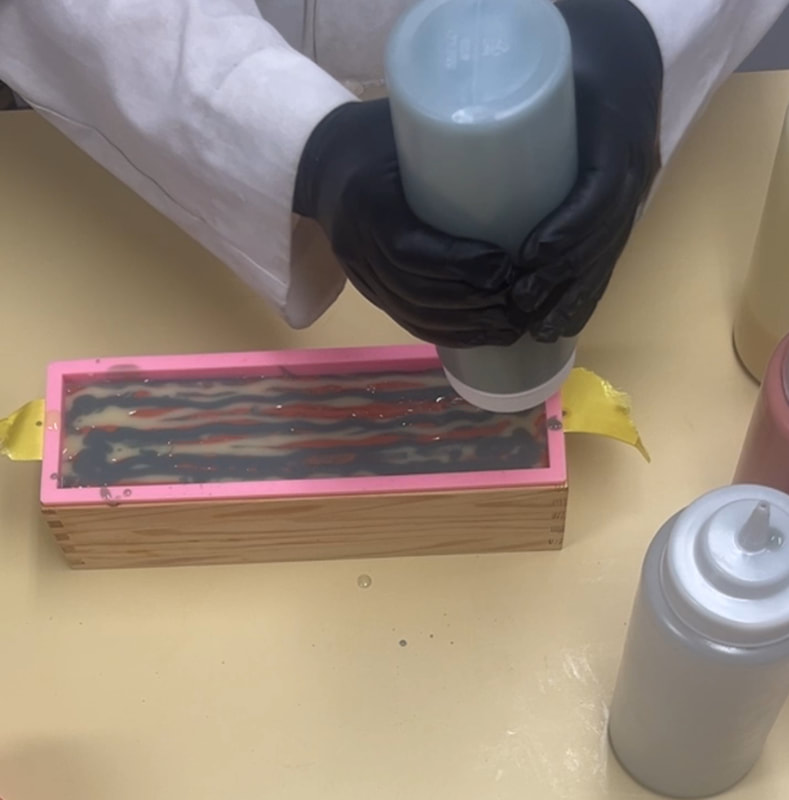
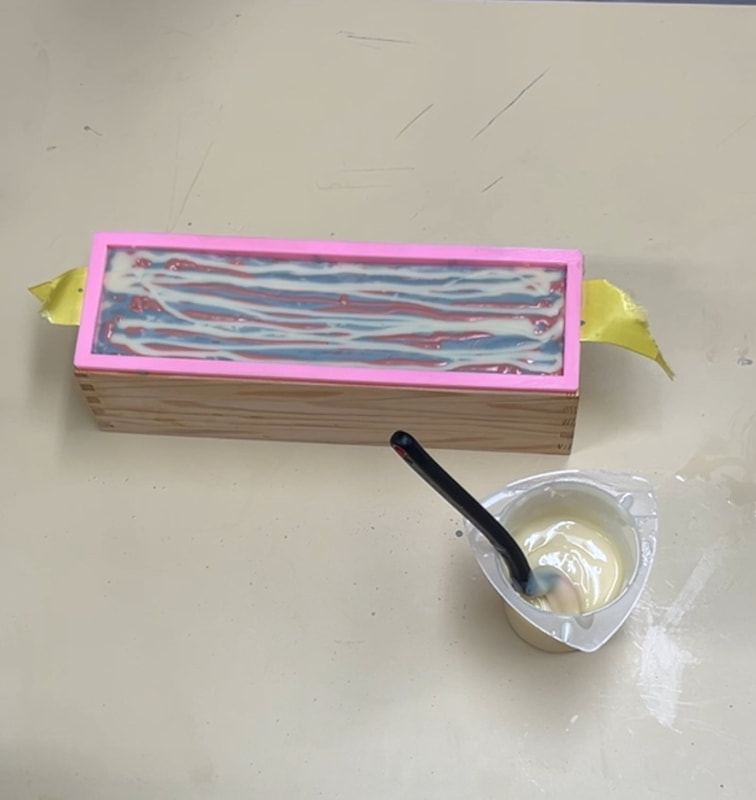
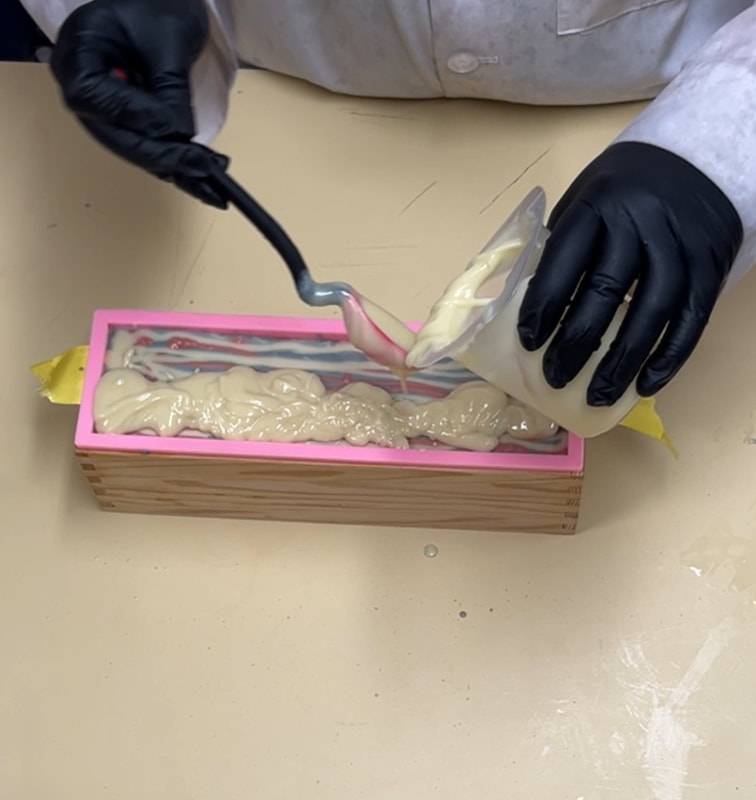
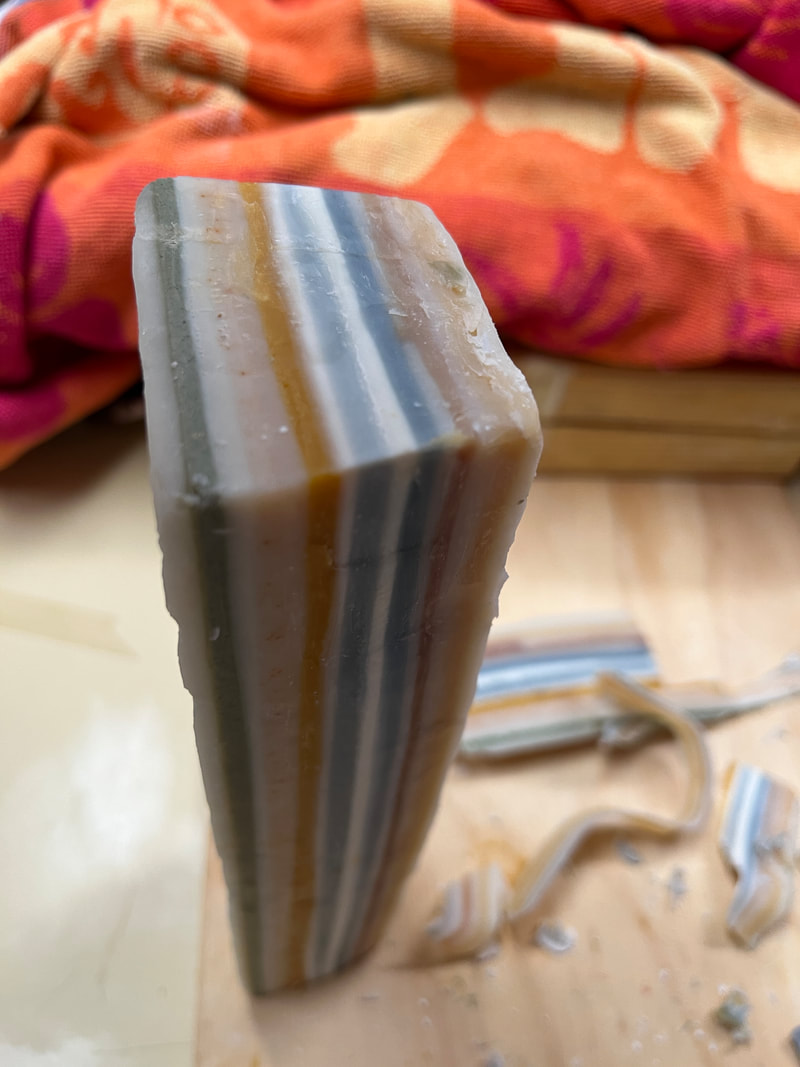
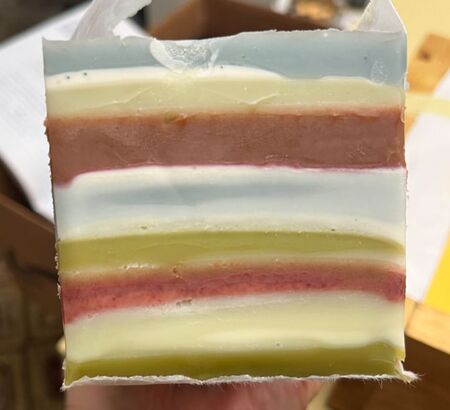
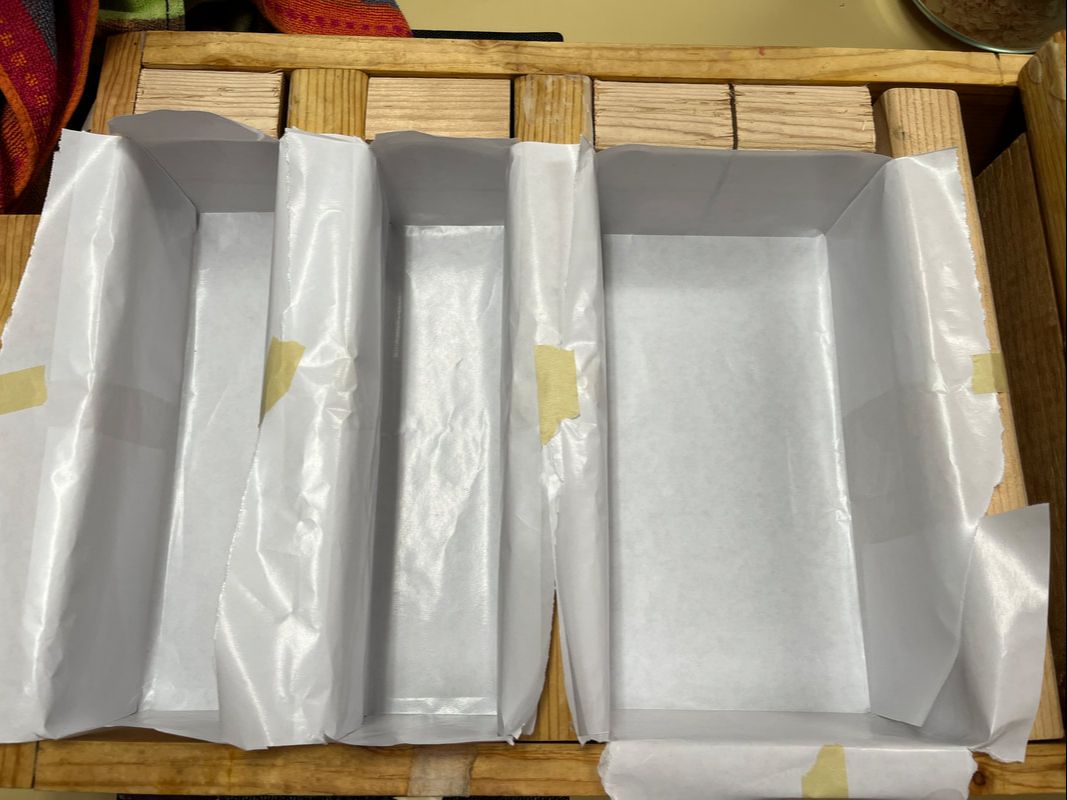
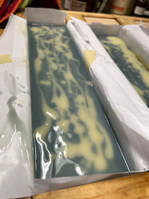
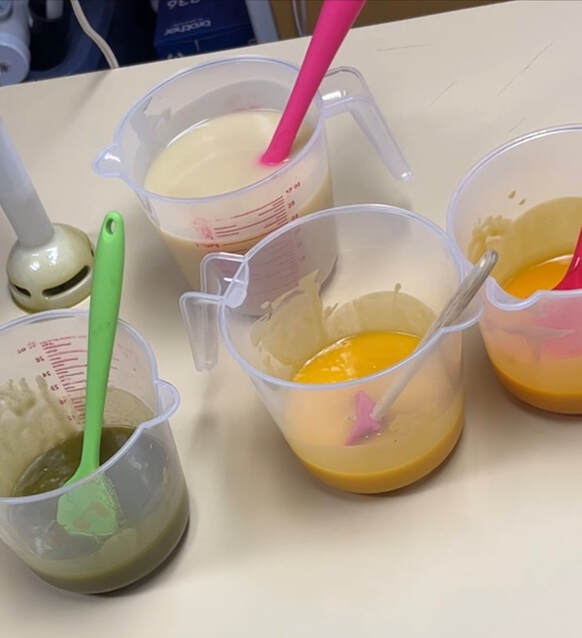
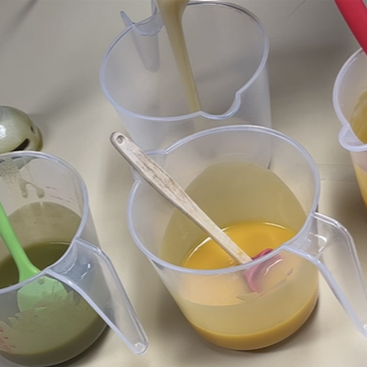
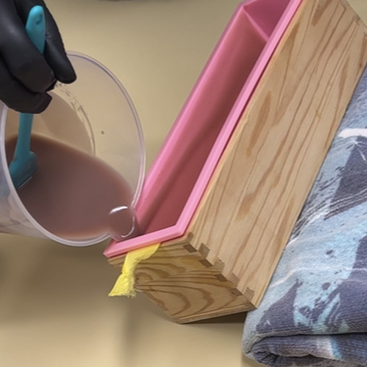
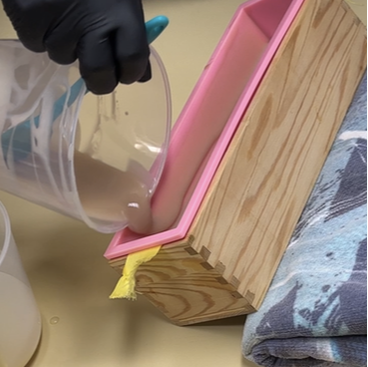
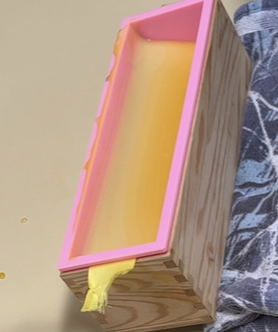
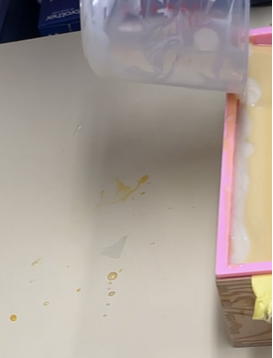
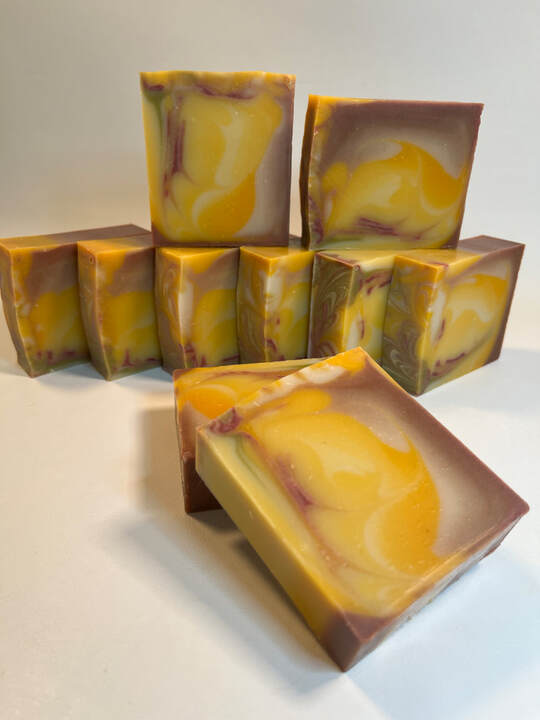
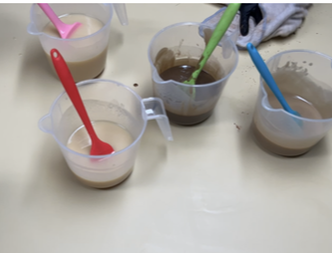
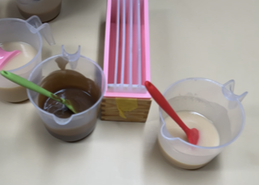
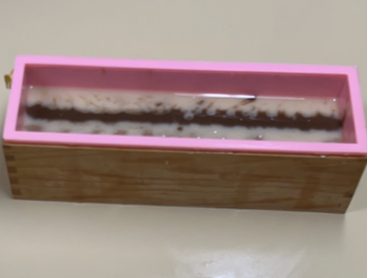
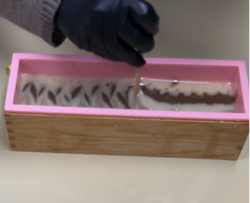
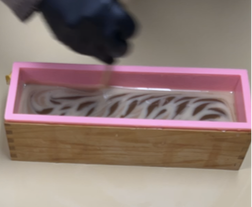
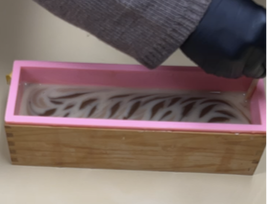
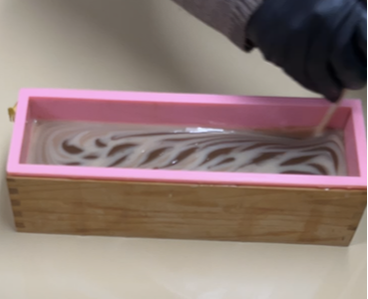
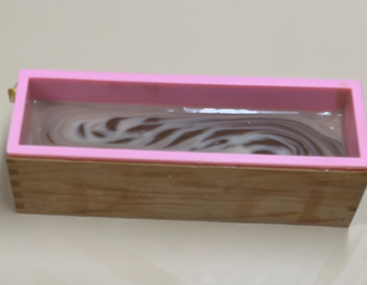
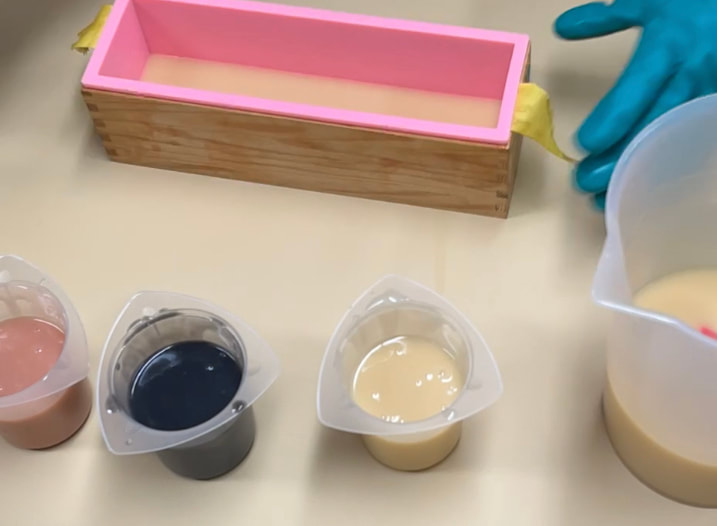
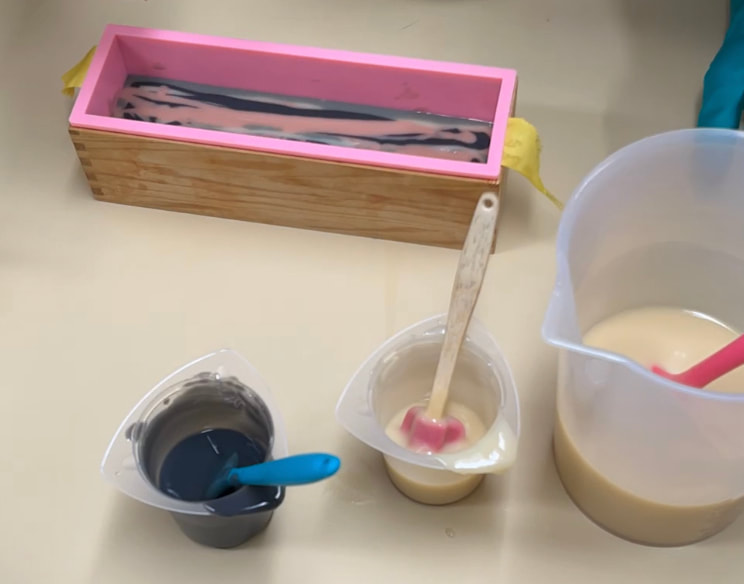
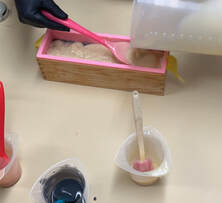
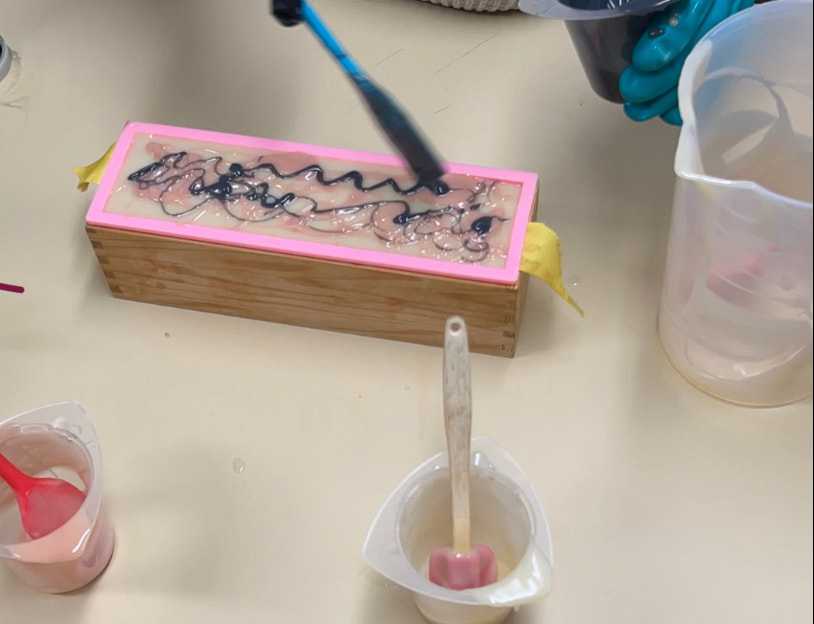
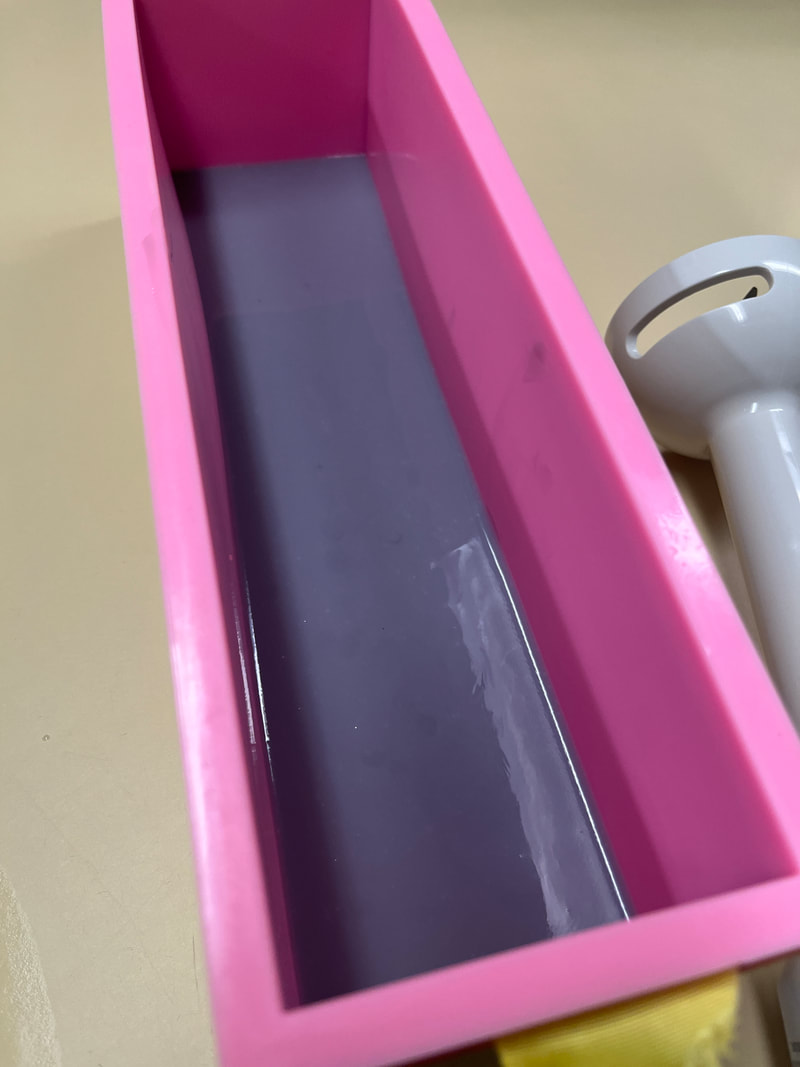
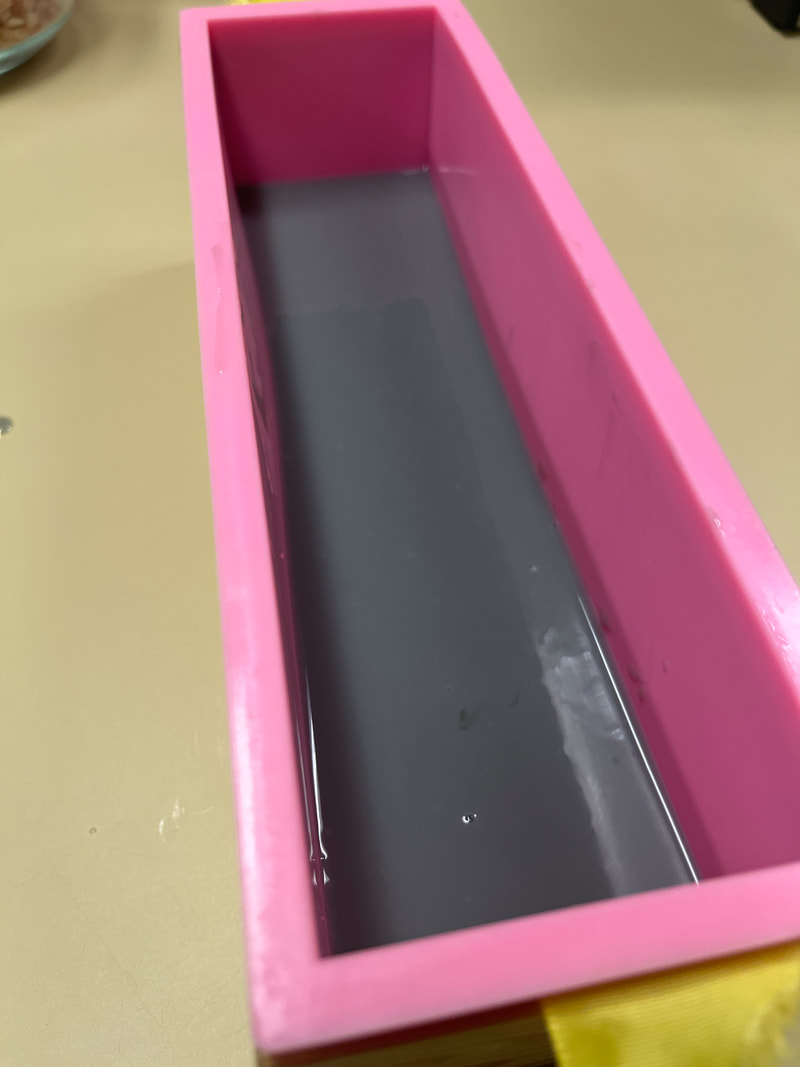
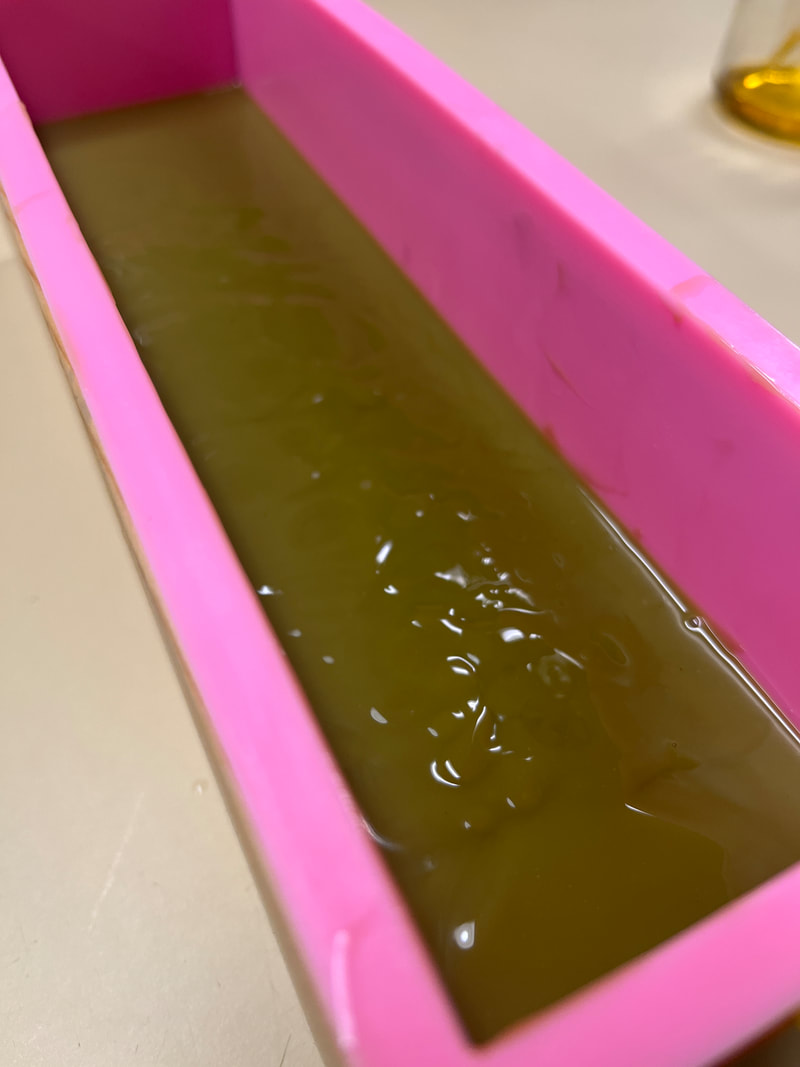
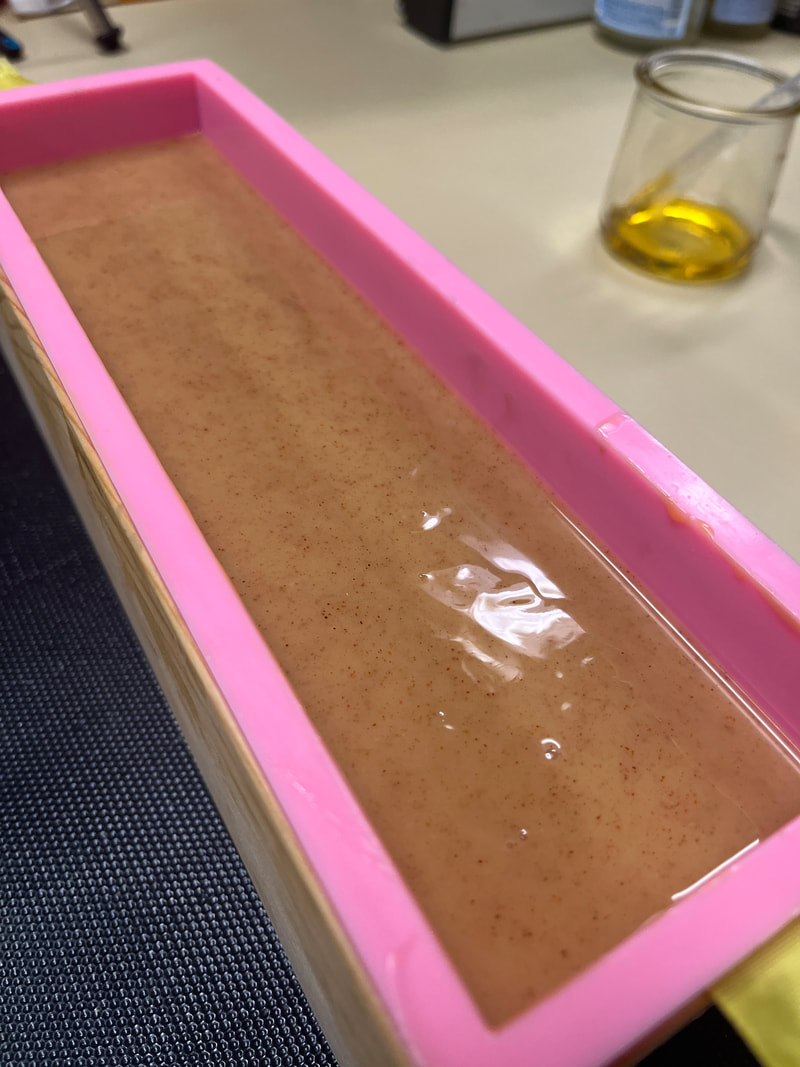
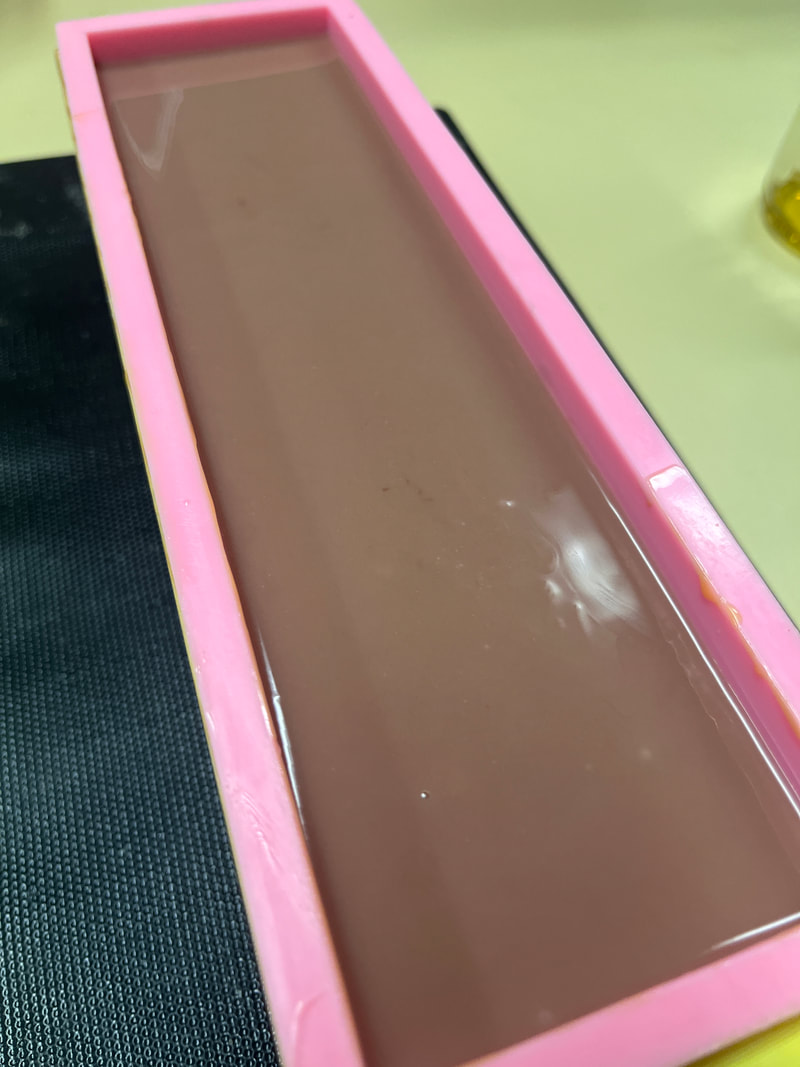
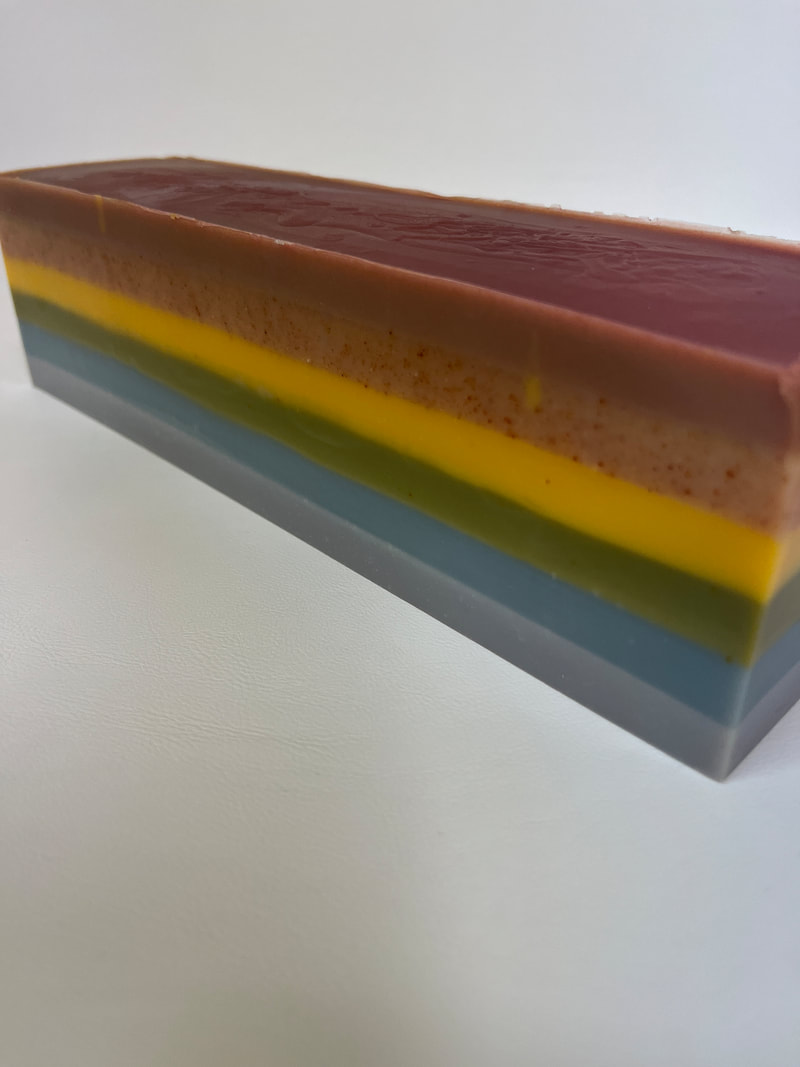
It's been a while since I've entered a soap into a challenge, and as I start the new year, I'm picking up Amy Warden's Soap Challenges once again. It's always fun to see what other people are making and how they bring their creative energies into the world of soap making. This month's challenge is focused on perfecting Wall Pours. This month, in addition to there being three different levels of entry, the techniques associated with them vary. All of the techniques involve pouring the soap batter along one wall of the soap mold to create your design. Regular category will be pouring single colors, Advanced can choose between what we call a One Pot Wonder, or a Woodgrain design, and the Winners category will enter soaps with an ombre design, hopefully with seamless transitions :) Here are example photos of each of the categories: Since I've been making soap for a while, I generally enter the Advanced category. The Winner's category is reserved for those that have won the Advanced category a few times, which is definitely NOT where I am :) But...If you know me, you also know that I'm always up for a challenge! With this being said, I decided to do an ombre as I love this technique. I've had varying success with it and more experience is always warranted, however, past soaps I've created in this style have turned out quite lovely, so....why not? To begin, you choose the colors to use. I decided to jump out of the cold winter season and fast forward into warm summer days with a Watermelon Ombre. This will take a transition from dark green (annatto seed & indigo) to natural and then natural to dark pink (rose clay). The idea was to have mostly pink with the green "rind" on the bottom and side. So, the majority of the soap batter was pink in color. Then you start pouring evenly, back and forth, along one wall of the mold. You add a bit of the next color, stir well, and pour similarly again. Repeat until you have successfully transitioned to the second color and then move into the next color, etc. I started with the dark green, added natural, then started adding the pink into the natural to bring it up to the full dark pink shade. It helps to have the mold at an angle, especially at the beginning. Here, I have used some blocks to assist me, but you can also just use a rolled up towel or other prop. As the mold fills up, you will want to lower the angle or eliminate it all together. I moved to utilizing a towel, before having the mold level on the table. The key with this technique is being able to keep all the colors fluid long enough to get them all poured into the mold. Things that make this particularly difficult are additives to the batter. It seems to me that indigo tends to allow the batter to stay fluid longer? Not sure if this is a real thing or not...but it's been my experience. Also, certain essential oils or fragrances will make the batter set up quicker, while some keep it more fluid. Clays tend to thicken it up - which was my nemesis on this batch. So, I had to continually stir up each of the batters during the extensive length of the pour. Even doing this, the pink got pretty thick and I was concerned it would not pour well for me. Lucky for me, my design was such that I was not relying on smooth transitions at this point - everything was just pink. So, it was a matter of getting it into the mold without disrupting the existing gradient. It was a challenge, and I wasn't entirely sure it was working, but I got it done :) I added a bit of the leftover colors to the top and swirled it to make it pretty. My favorite, and most anxiety producing, part of the process - the morning cut! Here's what the loaf looked like before cutting. And...the cut! The green transitions are beautiful & fine, but the pink is a bit more abrupt than I wanted. This is most likely due to using a bit too much rose clay in the batter and the thickness of the batter at the end of the pour. The watermelon effect turned out better than I anticipated though.
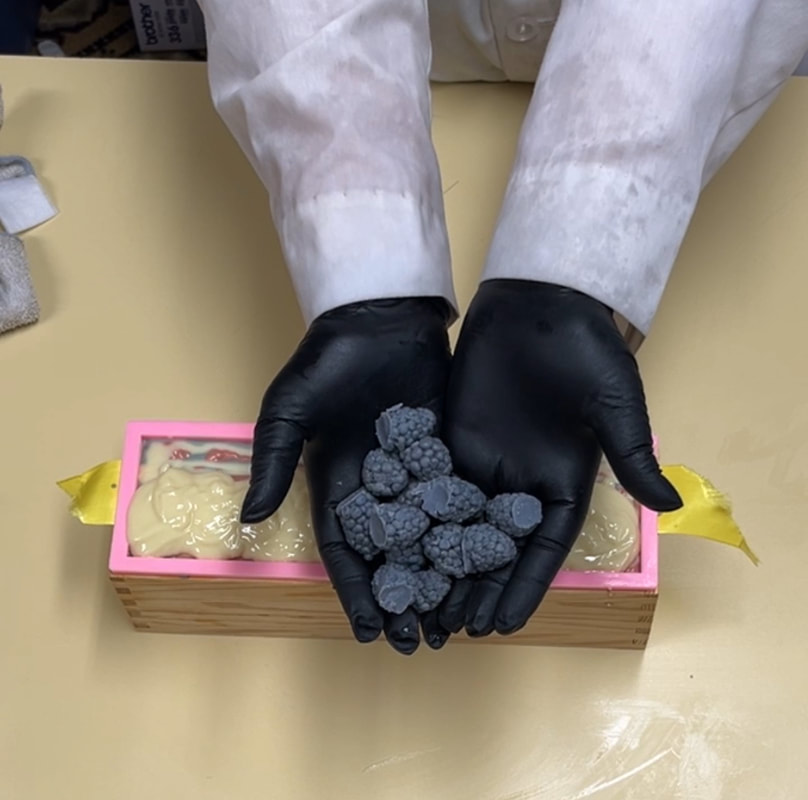
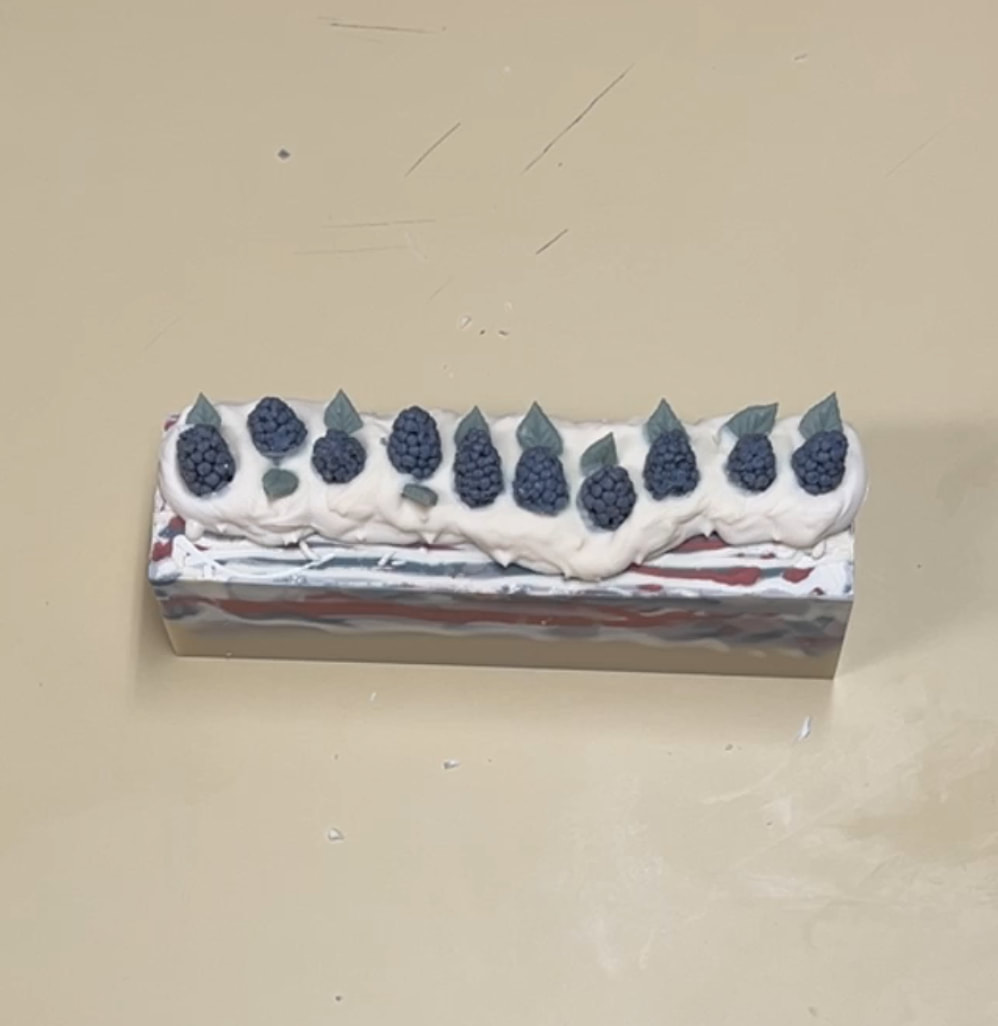
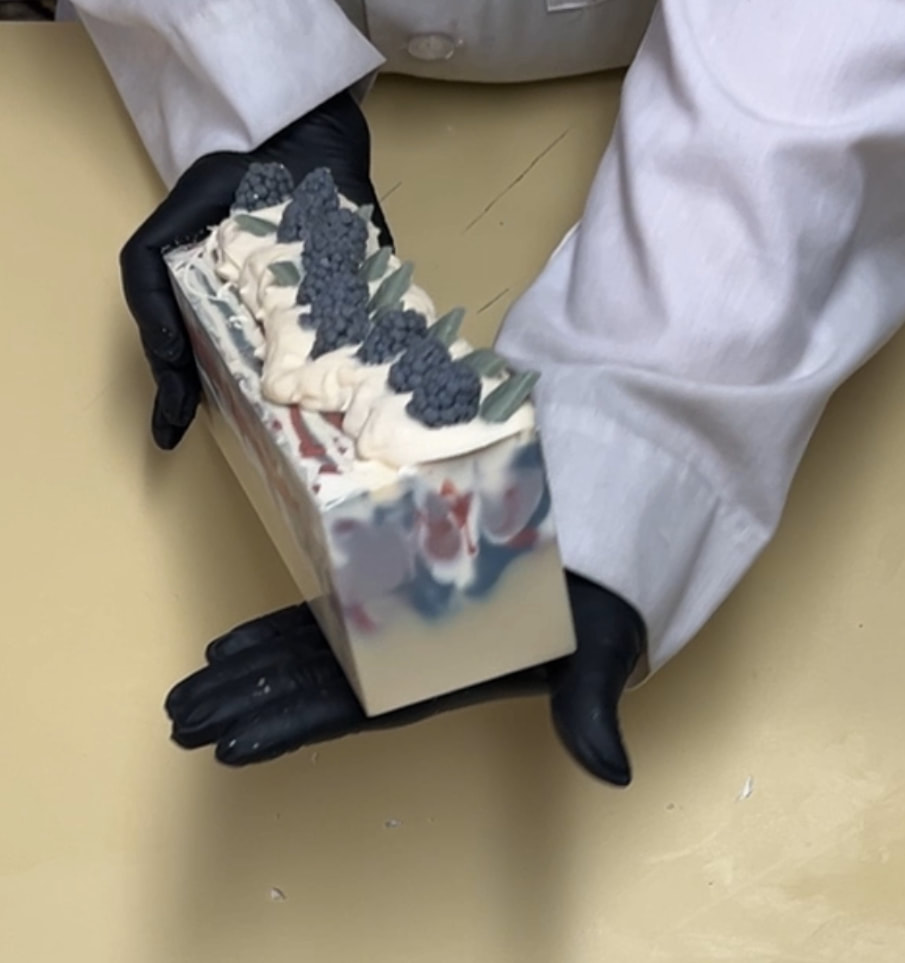
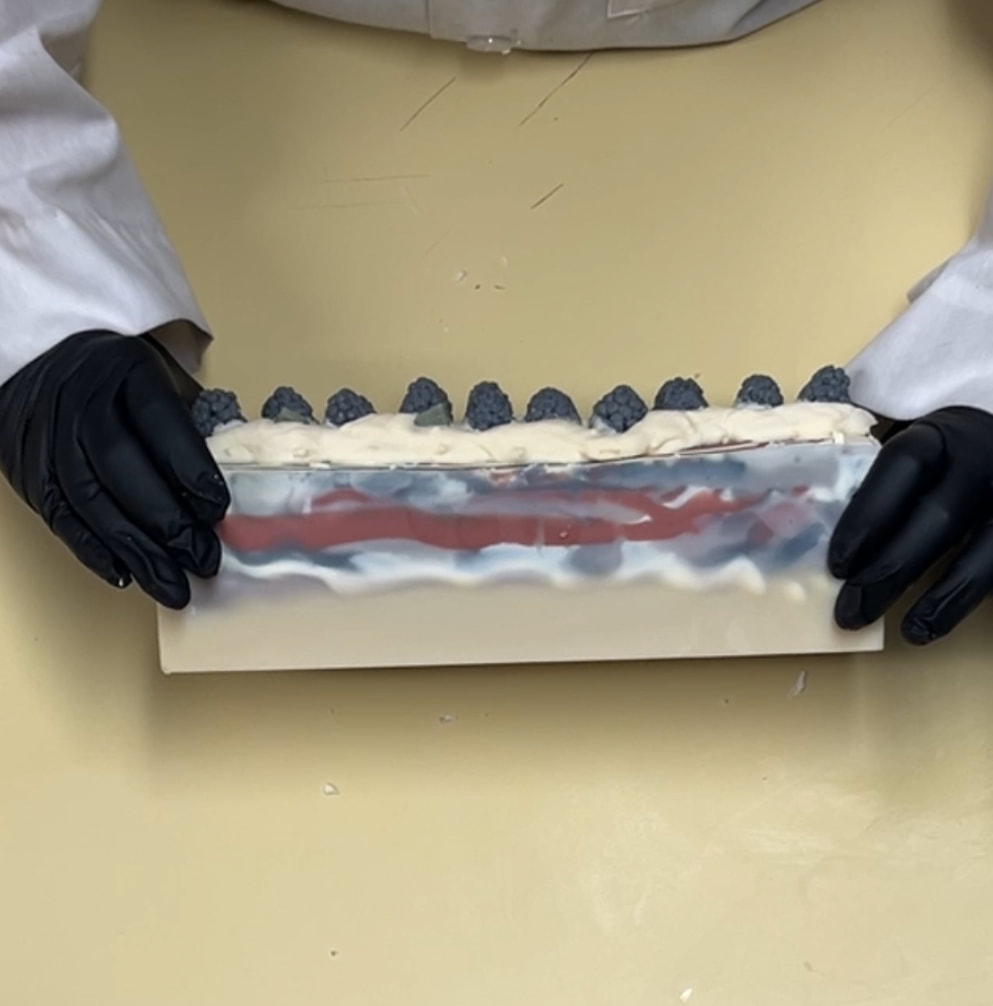
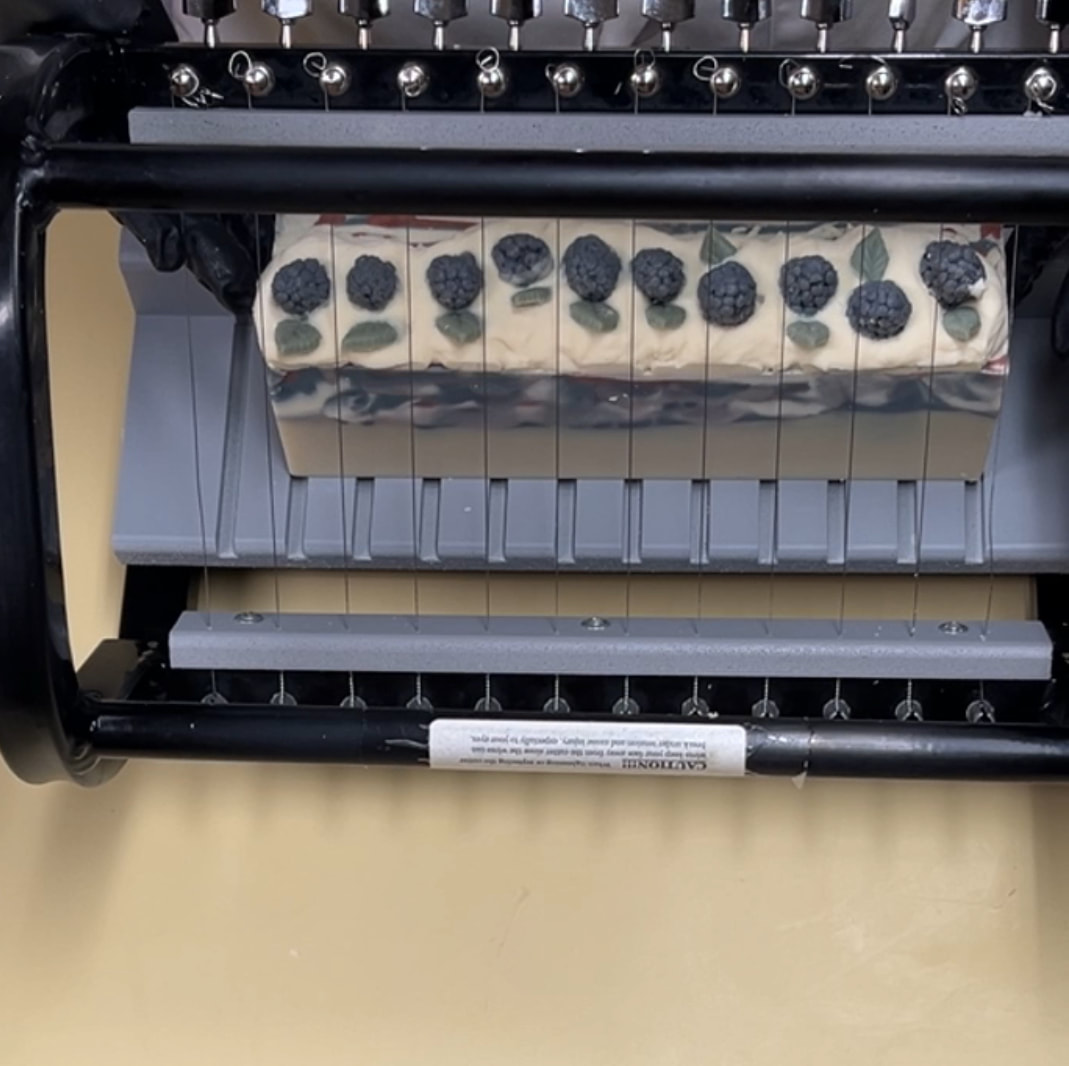
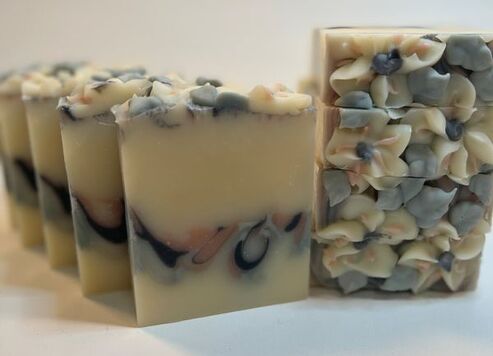
These bars are scented with a splendid combination of Watermelon & Mint, and the soap kitchen is a wonderful place to be this week! For the challenge, no embellishments are allowed, so my entry photo is one of the above. However, I just couldn't resist adding some extruded seeds to the top :) This picture shows them while they are still drying...you can see where I added them on with a dab of water. These bars will be available to purchase early summer! Embrace Natural Repellents |
Details
TaralynColorado Artisan, making beautiful hand-crafted soaps with all natural ingredients. Archives
August 2025
CategoriesCategories
Comment Policy
We follow Grandma's rule here: If you don't have something nice to say, don't say anything at all. While constructive criticism is always welcome, keep it polite, considerate and friendly. These are simple rules that, if not followed, will result in the deletion of the comment. Thank you. |
|
|
Our soaps and body care products are handcrafted the old-fashioned way, in Boulder County, Colorado by your local Soap Making Artist, Taralyn. Small artisan batches allow for considerable attention to detail during all stages - soap making, hand cutting, six week cure time and hand wrapping - an extensive journey that nurtures the formation of the perfect bar of luxury soap. And to make it even better, we will deliver to your door! Shop by Signature or Artisan, by scent families, ingredients or by name. So much to explore! Check out our collections today!
|
Contact
|
About
Get to Know Your Soap Maker!
|
Customer Service
ASC Creative Credits
|
Other Goodies
Community Connection Blog
Wild Rovings Blog
Why Palm Oil?
Organic Label
|
Copyright © 2009-2025 ASC Soapworks, llc, All rights reserved.











 RSS Feed

